Position & mounting
The European manual specifies ceiling mounting only, preferably towards one end. Use every mounting hole and keep electrical connections outside the enclosure, dry and protected.
ReptiRad — Powered by Alper
A 220W reptile heat panel.
The largest model in the ReptiRad range.
Space, thoughtfully used
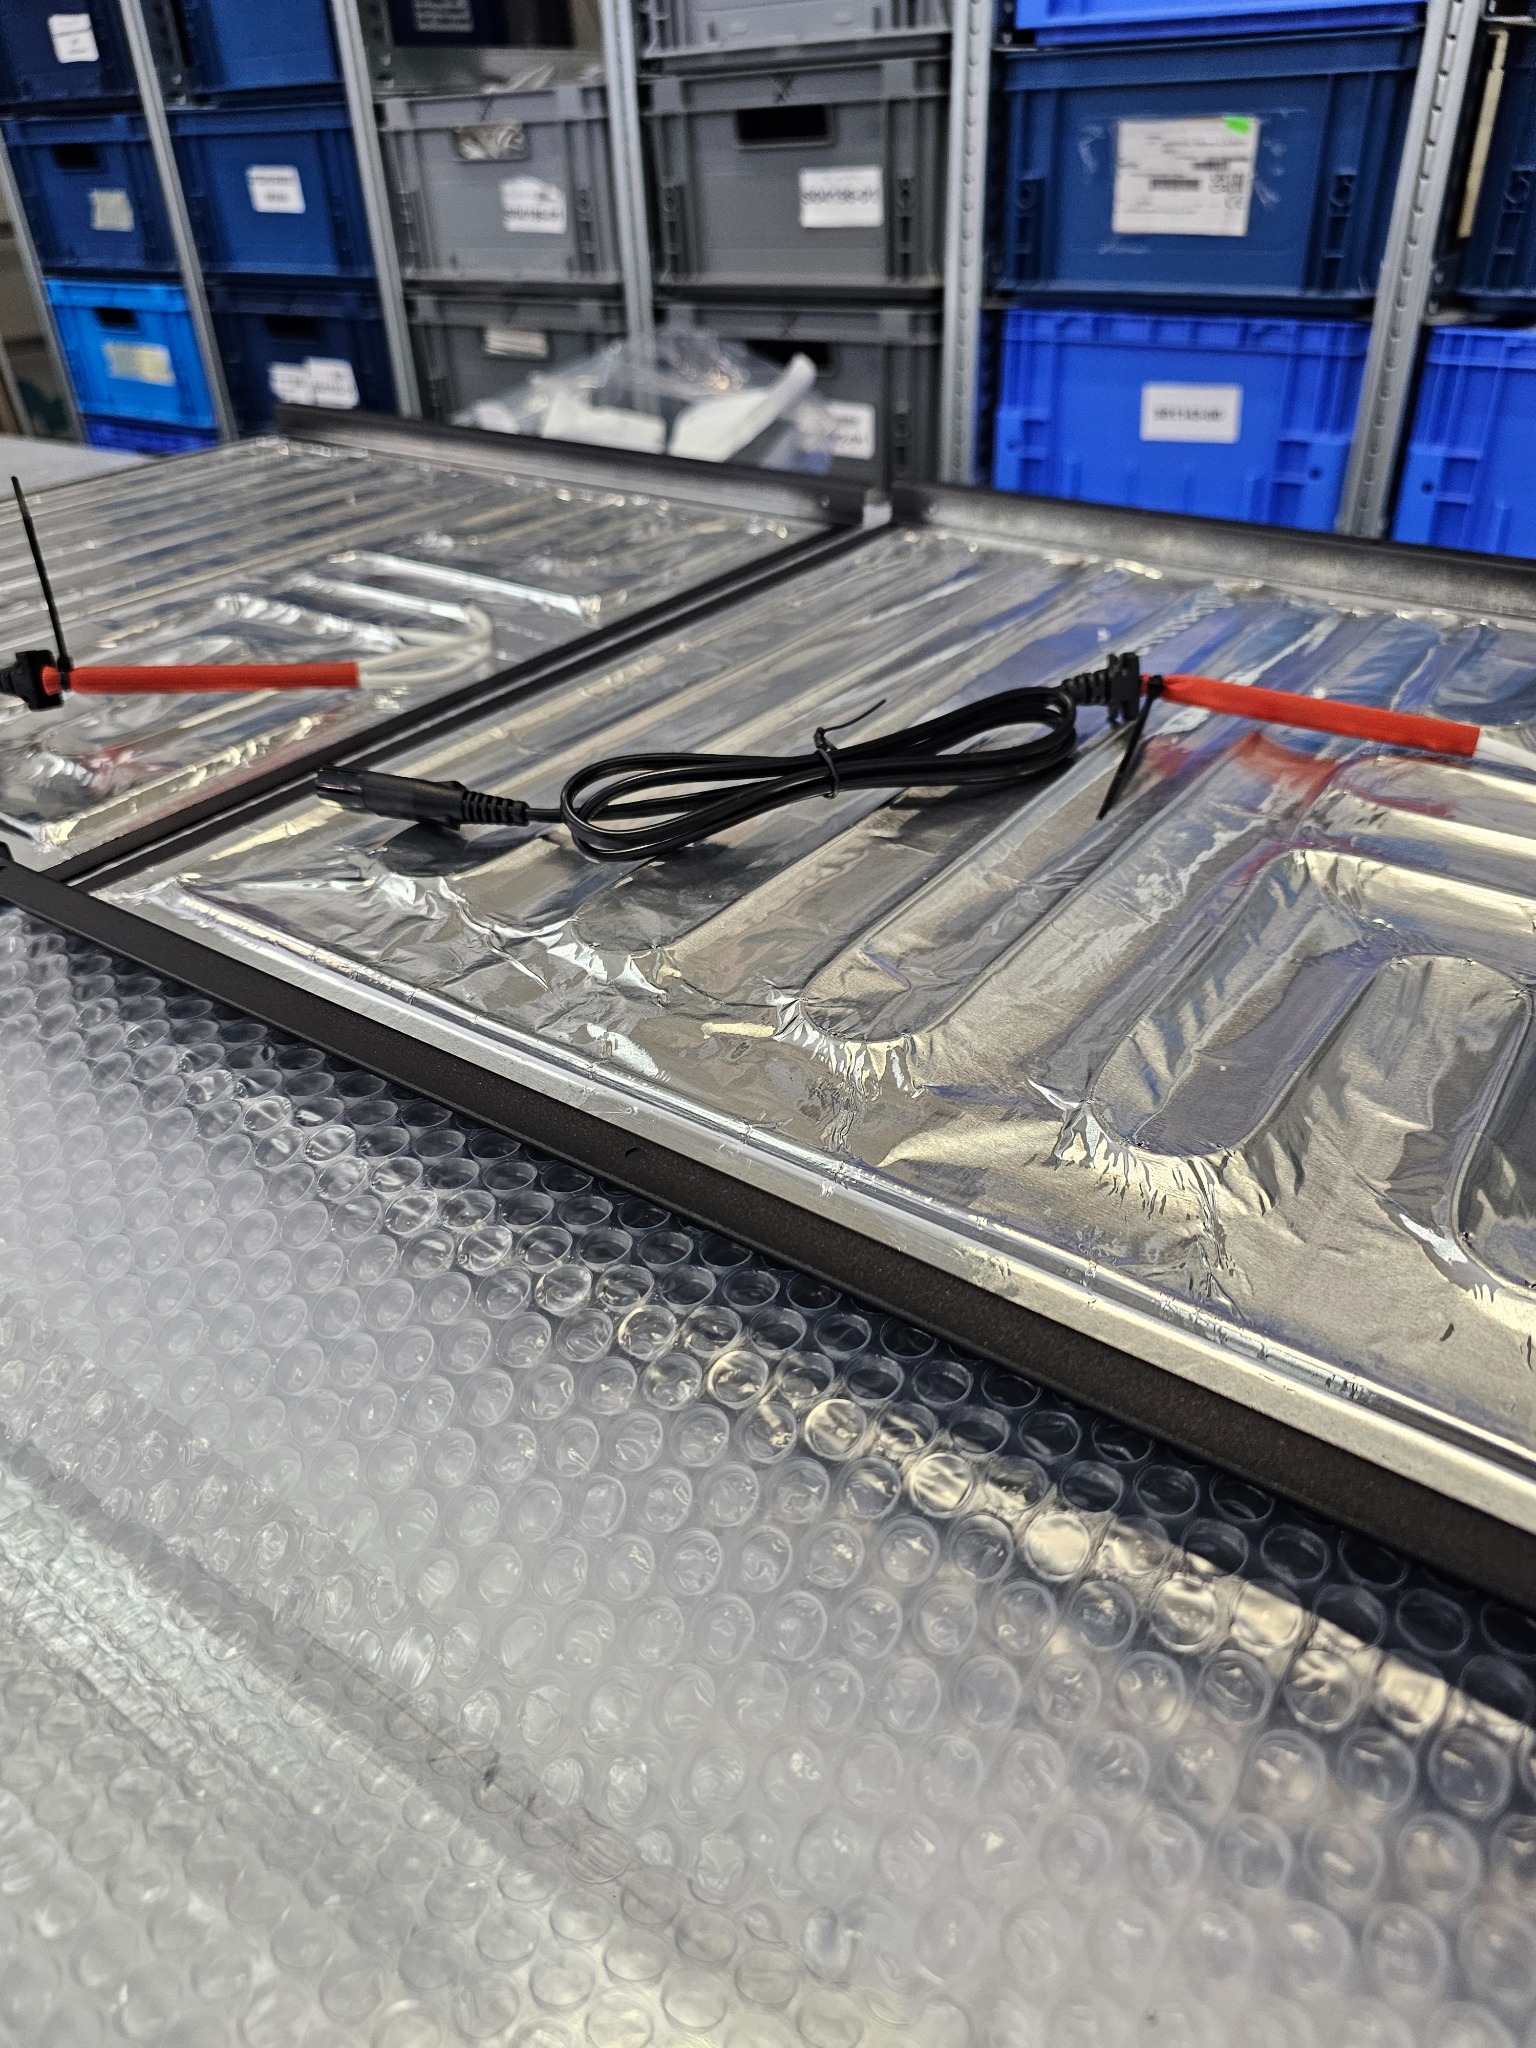
The ReptiRad 220 pairs an 18.5mm casing with galvanised steel construction and Class II double insulation.
The ReptiRad 220 has the highest rated output in the range and a 450 × 474mm footprint. Check the available mounting space carefully. For setups outside the sizing guide, contact us to discuss the requirements.
Explore the specifications ↓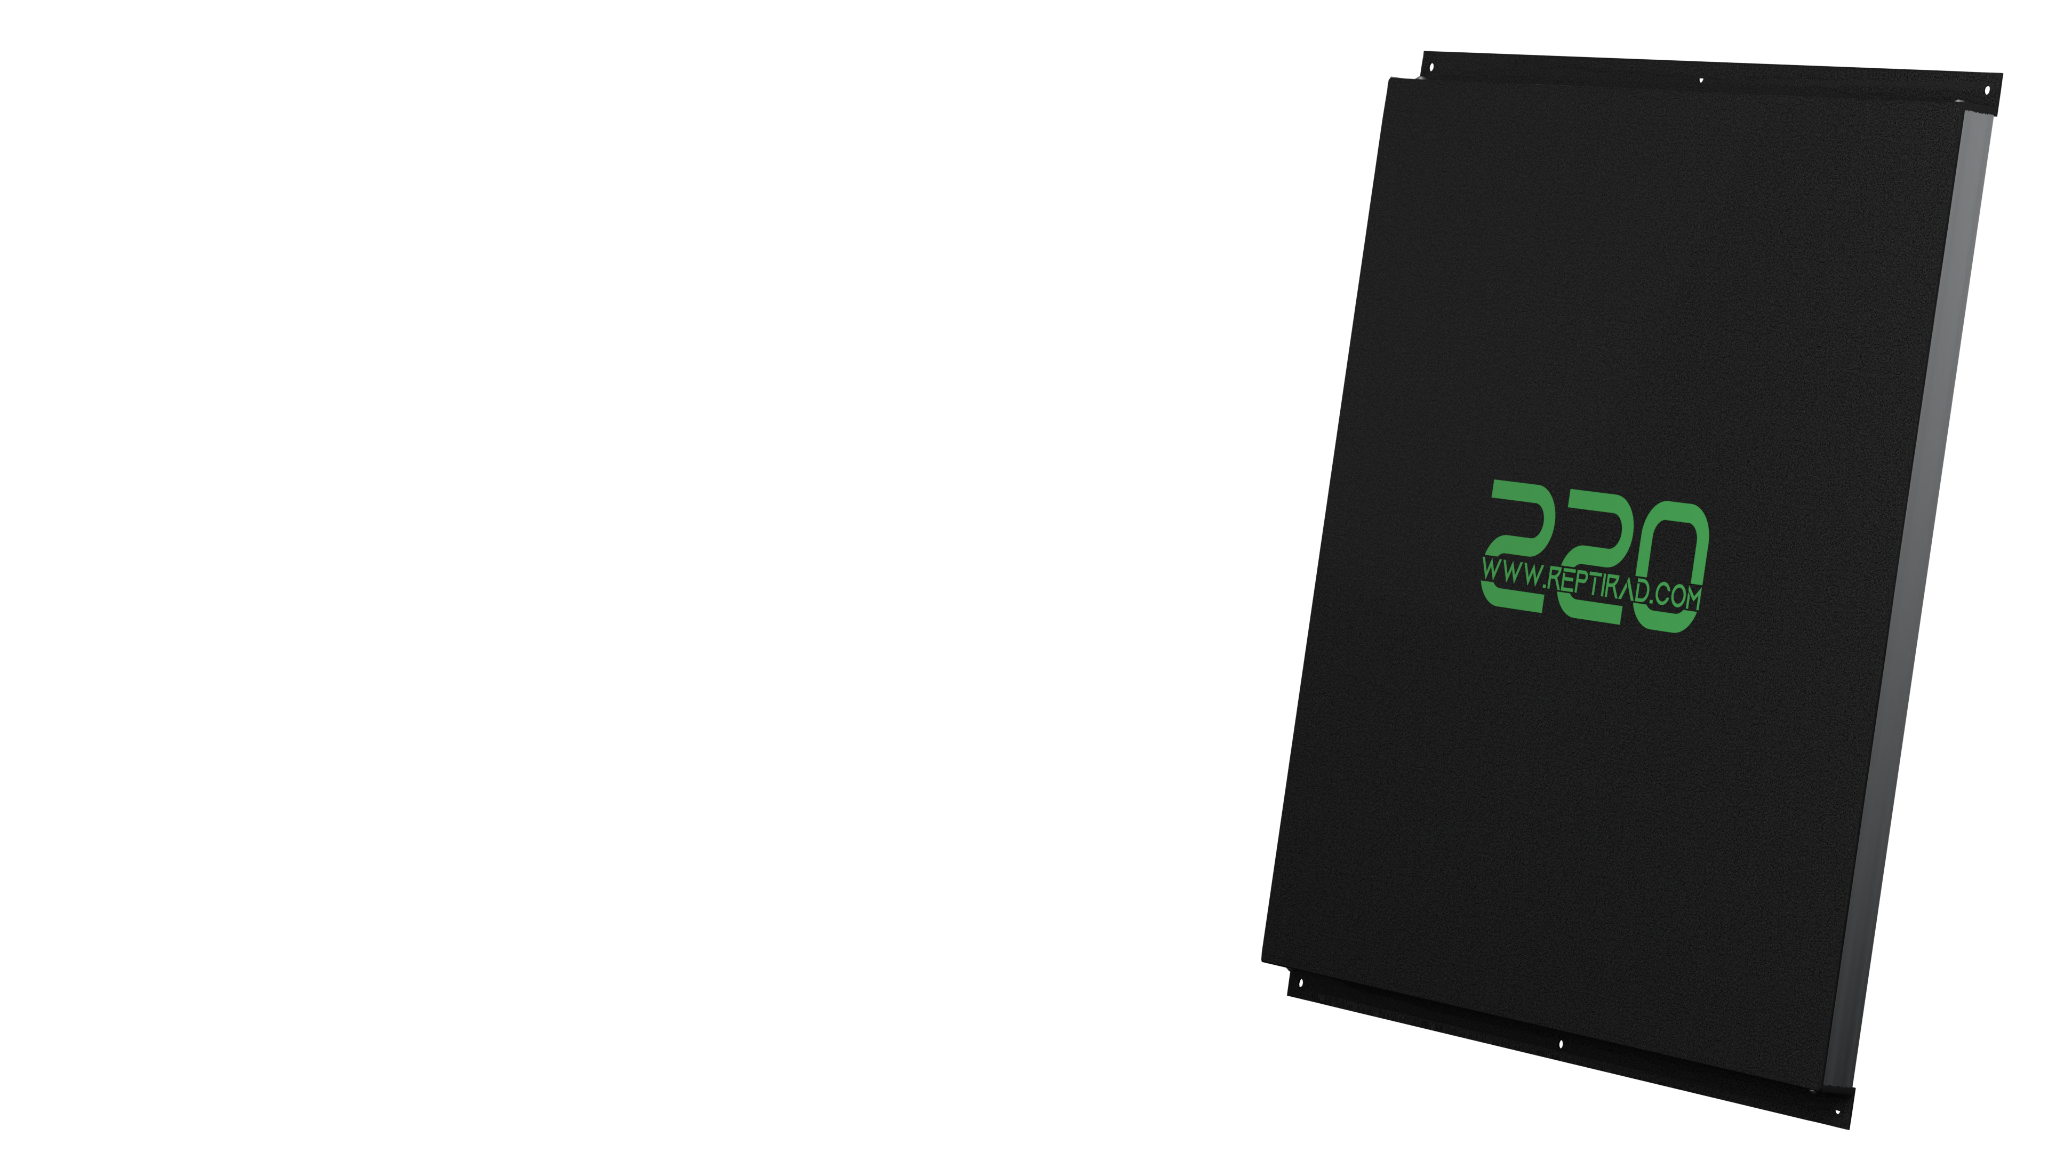
ReptiRad’s IP64-rated casing adds protection against dust and water splashes from any direction.
Operates in up to 99% relative humidity
For terrestrial reptile and amphibian setups, match the heating to the species, enclosure and required temperatures.
Do not spray the panel directly or immerse it in water. Keep misting nozzles directed away from the panel and keep electrical connections dry.
Explore installation & care ↗The details, clearly
Panel footprint · Not to scale
18.5 mm casing thickness
Body dimensions only. Allow for mounting, cable routing and the clearances in the installation instructions.Confirm the regional electrical specification and plug type with your retailer before ordering.
Choose the panel. Then the retailer.
Enclosure volume is a starting point. Materials, ventilation, room temperature and target temperatures affect the heating requirement too.
Use the size calculator ↗2,000 litres / 2 m³
The size calculator uses enclosure-volume sizing bands. Confirm physical fit and the requirements of your complete setup before buying.
Plan before fitting
The European manual specifies ceiling mounting only, preferably towards one end. Use every mounting hole and keep electrical connections outside the enclosure, dry and protected.
Use a compatible dimming or pulse-proportional thermostat rated for your panel. Secure the probe directly below the panel and check the manufacturer’s placement guidance for your version.
Run the complete setup for at least 24 hours and confirm stable, species-appropriate temperatures before introducing an animal. Prevent contact with dangerously hot surfaces.
Our manufacturing partner
Made in Italy with our manufacturing partner, Alper.
Discover the heating technology and manufacturing expertise behind our partnership.
Alper’s certified management systems
Before you buy
The panel measures 450 × 474 × 18.5mm, or 45 × 47.4 × 1.85cm. These are the panel dimensions, not the full space needed for mounting and installation clearances.
There is no single enclosure size that guarantees suitability. Use the metric size calculator for an initial volume-based estimate, then consider enclosure construction, ventilation, ambient temperature and your target temperatures.
The size calculator includes a cooler-room checkbox. If the base estimate is 220W, it directs you to contact us because there is no larger model in this range. We will need your enclosure details and room temperatures to discuss the setup; the calculator does not size multiple-panel installations.
220W is the rated power. Actual energy use over time depends on how the thermostat operates and how much heating the enclosure requires. We do not give a fixed running-cost estimate without those conditions.
Choose your country on the 220W Shop page to find a purchasing destination. Orders and payments are handled by the retailer. Availability, pricing and delivery are confirmed by your chosen retailer.
The supplied European manual states a 24-month warranty. Read the translated warranty information and contact us to confirm the terms and electrical specification for your country.
ReptiRad 220
Find purchasing options for the 220W panel in your country.
Shop ReptiRad 220 ↗Before you install
Start with your enclosure, then choose the panel. Volume gives you a first estimate; the complete setup determines whether that estimate is suitable.
Read the guide ↗Temperature controlA thermostat is an essential part of the setup. Choose the correct control mode, check the electrical rating and secure the probe before switching on.
Read the guide ↗Compare your optionsCompare the complete installation: the space it needs, how it is controlled and the temperatures it maintains. A wattage label alone cannot answer which setup is right for you.
Read the guide ↗